The artist
Phil Maltz
Phil Maltz is a self-taught illustrator from London who creates detailed urban scenes. His influence and inspiration come from growing up in East London. For this window and brickwork tutorial, he used Promarker Watercolour and Fineliners.

Step 1
Begin by creating the framework for the scene. You’ll need to use water-resistant ink to keep the lines from running when watercolour is added. I used Fineliners with nib sizes 0.5 for the heavy lines and 0.3 for the finer details.

Step 2
I’m using Promarker Watercolour pens for the colour. The basic process we’ll be repeating in this study is simple; add some colour from the pen, brush it with water to activate it, and then drop in more colour to create some interesting patterns of colour. You can repeat this process once the paper is dry again.

Step 3
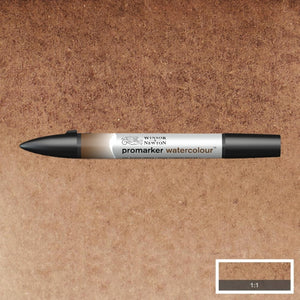
For the bricks, I’m using Burnt Sienna (074) and Burnt Umber (076) for the base layer. I’m then using a small, pointed brush to wet the colour. You can also use a water brush for this, just be careful with how much water you release. You want to dampen the colour rather than flood it.

Step 4
Now apply colour from the pen to create interesting colour variations. You can either use the same colour again, to build up the tone, or use a different colour to create different effects. Try dipping the pen nib into water and dropping the colour in but experiment on some spare paper before applying to your artwork.

Step 5
With the brickwork complete, we’re now going to add our window frame, again using a water-resistant ink based Fineliner. The window frame style I’ve chosen is based on Georgian architecture, but feel free to choose another style.

Step 6
To give a sense of depth, we’ll now apply a few thick lines of Payne’s Gray (465) across the very top of our window area. Now, with a wet brush, activate the pigment and draw the colour down with the water. Feel free to add more water as you move the colour down to help create a gradient effect.

Step 7
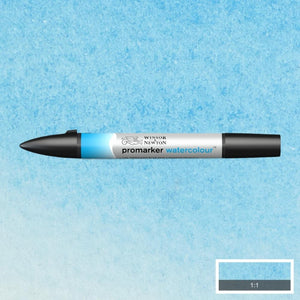
For the glass, apply a layer of Cerulean Blue (139) as a base, then activate with water, being careful to keep the water contained within each window pane. Then use the brush-tip end of the Promarker Watercolour pen to apply Payne’s Gray to the mix. Then use a small brush to dilute the centre of each pane with a little water, to create a radial gradient and help to reveal a little of the base colour underneath.

Step 8
Once the paper is dry, finish the scene by using a fineliner to embellish the bricks with extra surface texture, I commonly use squiggles and little dots to add visual interest. Remember, this should be a fun process. Don’t worry about making mistakes. Persevere through the process and you should be pleased with the results.


